How to Add NuGet Packages to a Visual Studio Solution
There's 2 ways you can add NuGet packages to a Visual Studio solution.
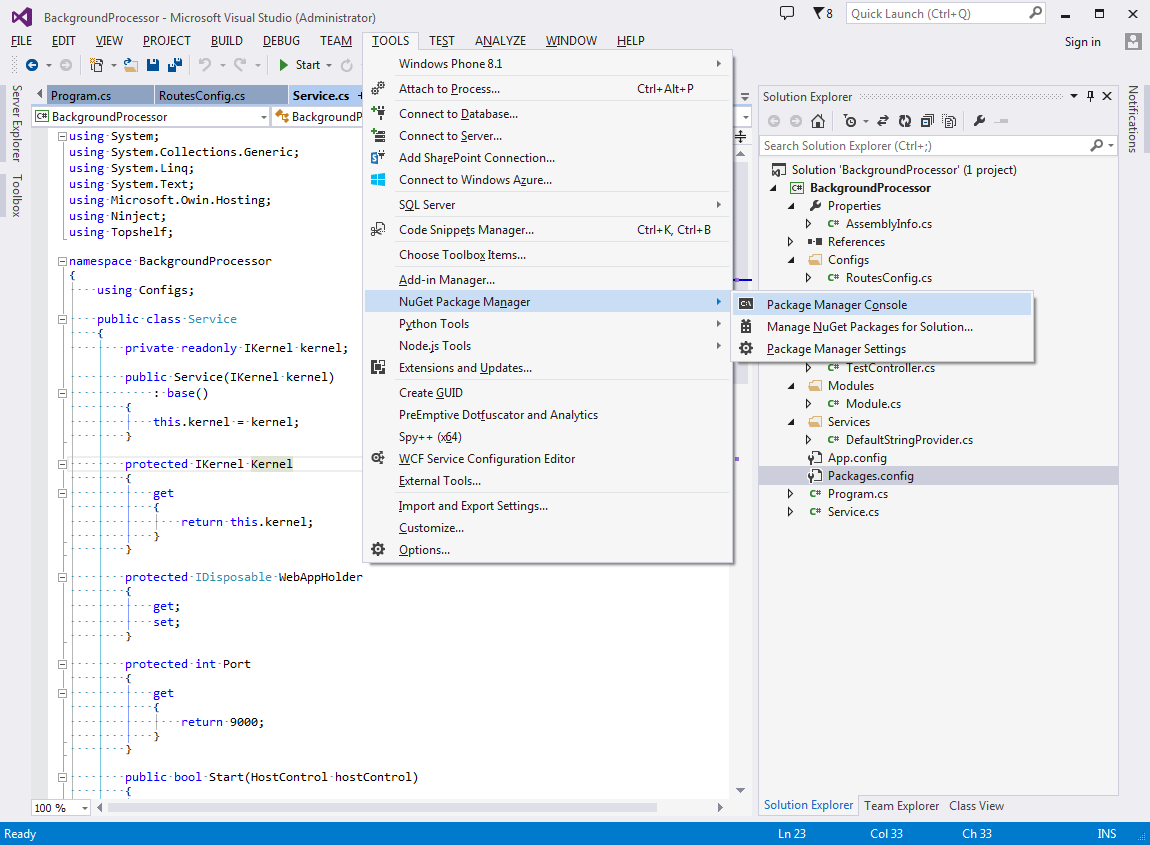
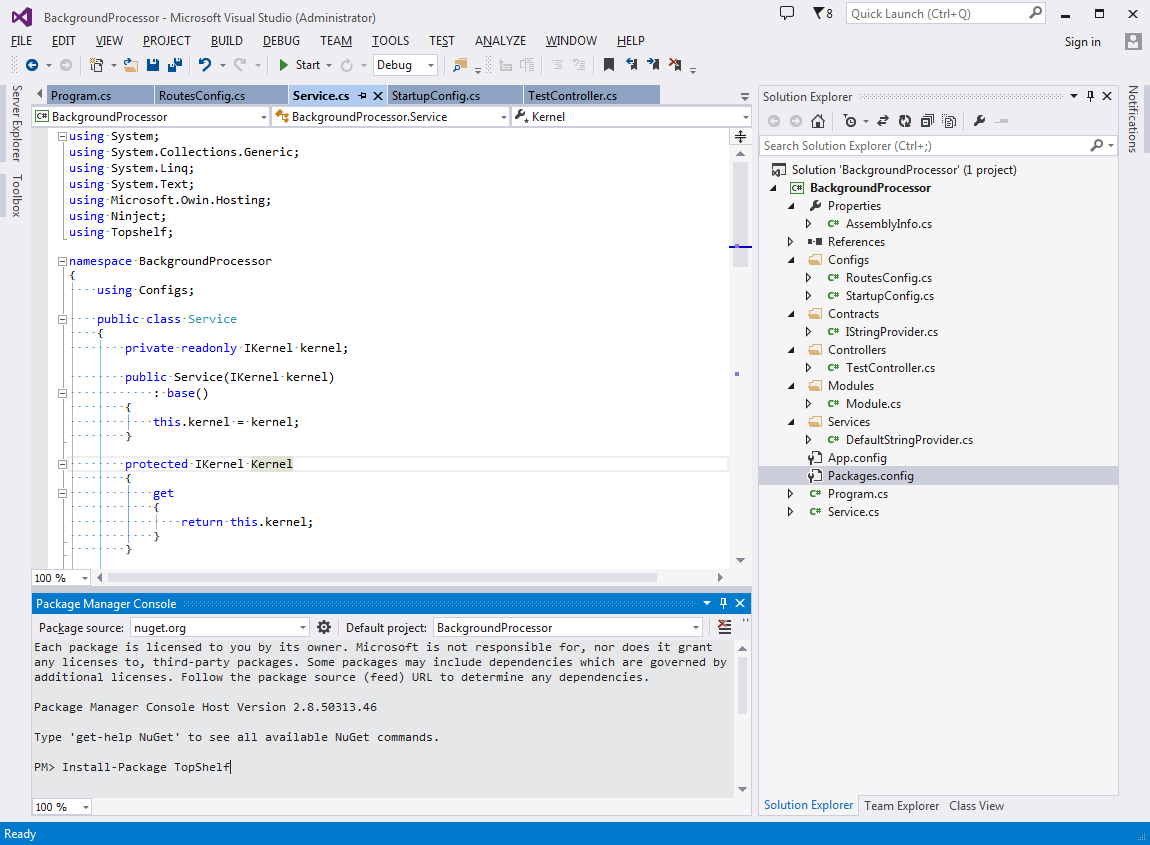
Add a package via the Package Manager Console
Start the Package Manager Console within your solution. What you get is a PowerShell console window inside the IDE. It has a useful set of commands that can be used to manage packages.
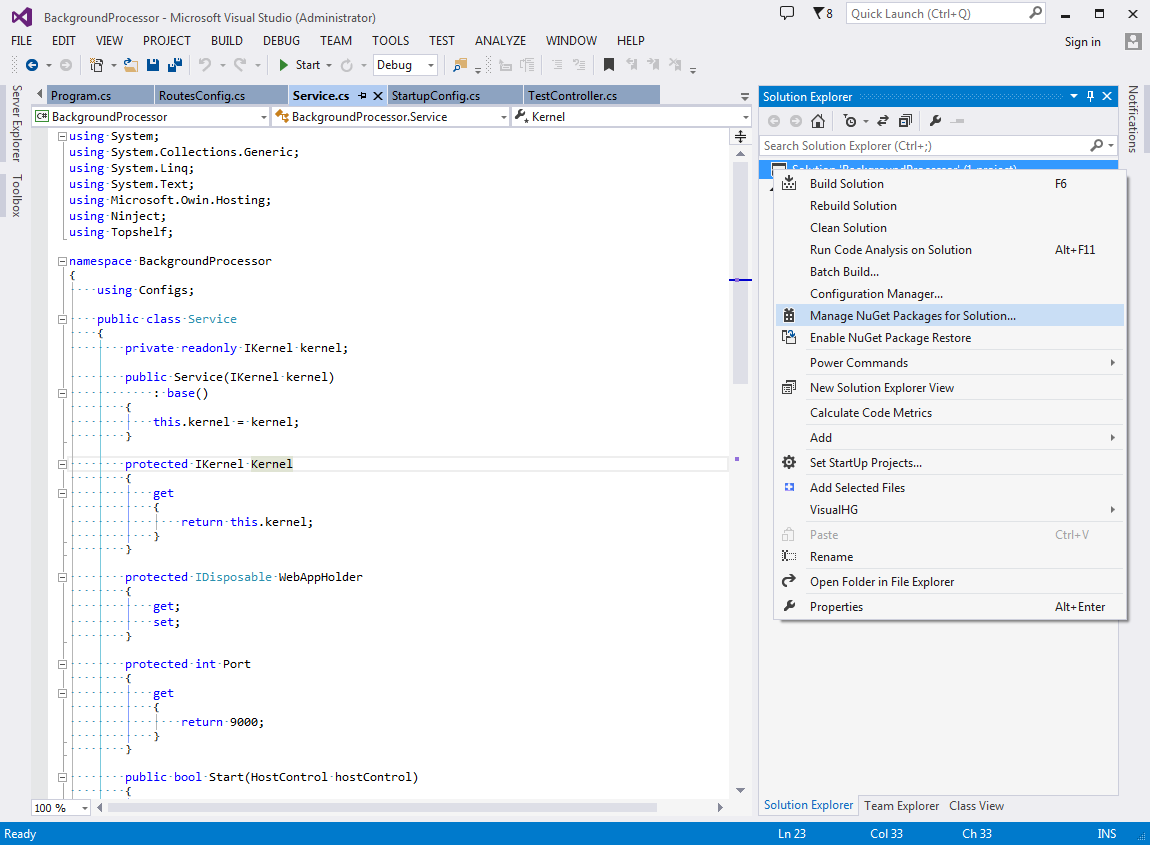
Add a package via the Package Manager UI
Right-click the solution node in the Solution Explorer window in Visual Studio and select Manage NuGet Packages for Solution... from the context menu. You will be presented with a modal dialog box. It has a tree on the left side with 3 nodes Installed packages, Online and Updates allowing you to:
Installed packagesallows you to manage packages already installed in the solution, i.e., add to or remove from individual projects.Onlineallows you to search for and install a new package into the solutionUpdatesallows you to update installed packages in the solution
Search for a package using the search box in the top-right corner of the dialog box. This search is carried out within the context of one of the 3 sections mentioned above.
